How to Set Up EmDash CMS in 10 Minutes

How to Set Up EmDash CMS in 10 Minutes

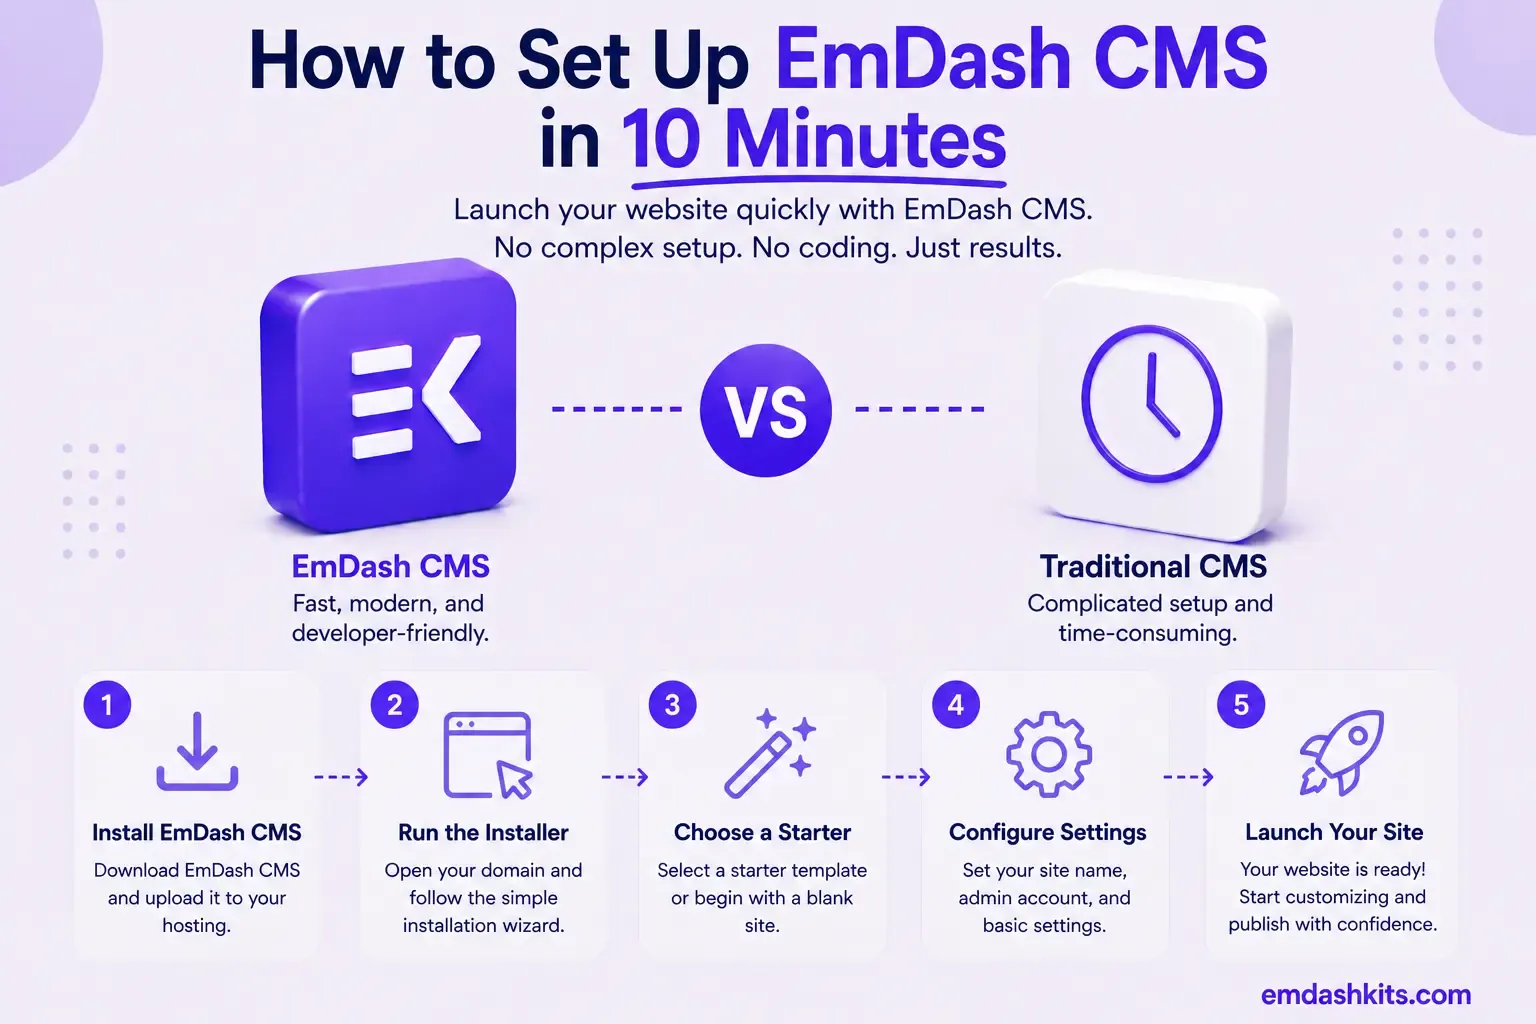
This is the exact, unpadded path from an empty terminal to a published first post on a local EmDash site. If you already have Node.js installed, the whole thing genuinely takes about 10 minutes, most of it spent typing your site title and writing a test post rather than waiting on anything.

Table of Contents
  1. Prerequisites
  2. Step 1: Scaffold the Project
  3. Step 2: Install Dependencies and Start the Dev Server
  4. Step 3: Complete the Setup Wizard
  5. Step 4: Publish Your First Post
  6. What You Just Got, Structurally
  7. Optional Next Step: Add More Content Types
  8. Frequently Asked Questions
  9. What if my Node.js version is too old?
  10. Do I need a database set up beforehand?
  11. Can I skip the passkey and use a password instead?
  12. What's next after the first post?
  13. The Bottom Line

Prerequisites

  • Node.js v22.12.0 or higher (odd-numbered versions are not supported).
  • npm, pnpm, or yarn.
  • A code editor — VS Code is recommended but not required for this setup.

Step 1: Scaffold the Project

Run the create command and follow the prompts to name your project:

npm create emdash@latest
emdashkits.com

pnpm and yarn work identically: `pnpm create emdash@latest` or `yarn create emdash`. The prompts ask for your project name and a few setup preferences — accepting the defaults is fine for a first run.

Read also:

Step 2: Install Dependencies and Start the Dev Server

cd my-emdash-site
npm install
npm run dev
emdashkits.com

Once the dev server starts, open your browser to http://localhost:4321. You should see your new site's homepage — empty for now, but running.

Step 3: Complete the Setup Wizard

  1. Navigate to http://localhost:4321/_emdash/admin.
  2. You'll be redirected to the Setup Wizard. Enter your Site Title, Tagline, and Admin Email.
  3. Click Create Site to register your passkey.
  4. Your browser will prompt you to create a passkey using Touch ID, Face ID, Windows Hello, or a security key.

Once your passkey is registered, you're logged in automatically and redirected to the admin dashboard — no password to set, remember, or reset later.

EmDash uses passkey authentication instead of passwords. Passkeys are more secure and work with your browser's built-in password manager.

Step 4: Publish Your First Post

  1. In the admin sidebar, click Posts under Content.
  2. Click New Post.
  3. Enter a title and write a few lines using the rich text editor.
  4. Set the status to Published and click Save.
  5. Visit your site's homepage — the post appears immediately.

That immediacy is deliberate: EmDash uses Live Content Collections, so content is served at runtime rather than baked in at build time, and edits appear without a rebuild step.

What You Just Got, Structurally

Your new project follows a standard Astro structure with a few EmDash-specific additions:

my-emdash-site/
├── astro.config.mjs      # Astro + EmDash configuration
├── src/
│   ├── live.config.ts    # Live Collections configuration
│   ├── pages/
│   │   ├── index.astro   # Homepage
│   │   └── posts/
│   │       └── [...slug].astro  # Dynamic post pages
│   ├── layouts/
│   │   └── Base.astro    # Base layout
│   └── components/       # Your Astro components
├── .emdash/
│   ├── seed.json         # Template seed file
│   └── types.ts          # Generated TypeScript types
└── package.json
emdashkits.com

Optional Next Step: Add More Content Types

Your first post used the default Posts collection. To model something specific to your site — a portfolio item, a product, a case study — open the Visual Schema Builder in the admin panel and create a new collection with the fields you need. No code required for the schema itself; you'll write the Astro template to render it once you're ready to build the public-facing page.

Frequently Asked Questions

What if my Node.js version is too old?

EmDash requires Node.js v22.12.0 or higher, and odd-numbered major versions (23, 25, etc.) aren't supported. Install or switch to an even-numbered LTS release — nvm or a similar version manager makes this a one-command fix.

Do I need a database set up beforehand?

No — the default local setup handles this for you as part of the dev server startup. You only need to configure an external database (PostgreSQL, libSQL, or Cloudflare D1) when you're ready to deploy to production.

Can I skip the passkey and use a password instead?

EmDash's authentication is passkey-based by default. If your browser or device doesn't support passkeys, check the current authentication documentation for supported fallback options rather than assuming one exists.

What's next after the first post?

From here, the natural next steps are modeling additional content types in the Visual Schema Builder, building out your Astro templates to render them, and — when you're ready to go live — choosing a deployment target (Node.js hosting or Cloudflare Workers).

The Bottom Line

Scaffold, install, start the dev server, complete the passkey setup wizard, publish a post — that's the entire path from zero to a working EmDash site, and it genuinely fits inside 10 minutes. From here, see our guide on how startups use this same setup to launch fast, or jump straight into modeling your actual content types.
Share

Comments

Write a comment

Related Articles

Login Works in Production but Fails on localhost: The secure Cookie Flag Gotcha

July 16, 2026

Login Works in Production but Fails on localhost: The secure Cookie Flag Gotcha

Google Analytics (GA4) Not Tracking Anything and No Console Errors: Check Your CSP First

July 16, 2026

Google Analytics (GA4) Not Tracking Anything and No Console Errors: Check Your CSP First

Native Module Build Fails on Shared Hosting (node-gyp, Old glibc/Python): The .npmrc Fix

July 16, 2026

Native Module Build Fails on Shared Hosting (node-gyp, Old glibc/Python): The .npmrc Fix

Login Works in Production but Fails on localhost: The secure Cookie Flag Gotcha

Login Works in Production but Fails on localhost: The secure Cookie Flag Gotcha

TL;DR — A custom session-cookie login flow appeared to succeed on localhost (the OTP verified, the response looked fine) but every subsequent request to a login-gated page treated the visitor as logged out. Identical code worked fine on the live HTTPS site. The cookie's Secure attribute was hardcoded to true — and per the cookie spec, browsers never store or send a Secure cookie over a plain, non-HTTPS connection.

Table of Contents
  1. Diagnostic
  2. Root cause
  3. Fix
  4. Lessons learned

Diagnostic

Check the actual Set-Cookie response header and the browser's own cookie storage panel — on localhost over http://, the cookie is sent by the server but never actually stored by the browser.

Root cause

// before -- assumes the app is always served over HTTPS
setCookie("session", token, { secure: true, httpOnly: true });
emdashkits.com

A cookie config that quietly assumes "we're always on HTTPS" breaks the instant you test over plain HTTP, which local dev servers commonly are.

Read also:

Fix

// after -- derive secure from the actual request protocol
const isHttps = request.url.startsWith("https://");
setCookie("session", token, { secure: isHttps, httpOnly: true });
emdashkits.com

Lessons learned

  • Any Secure-flagged cookie needs to key off the real request scheme, not an assumption baked in once at cookie-creation time.
  • "Works in production, silently fails in local dev" is a strong signal to check cookie flags before anything else in an auth flow.
  • Check other cookies in the same codebase for the same hardcoded assumption — if one cookie has this bug, sibling cookies set the same way are worth auditing too.
Share
Previous Article

Google Analytics (GA4) Not Tracking Anything and No Console Errors: Check Your CSP First

Comments

Write a comment

Related Articles

Google Analytics (GA4) Not Tracking Anything and No Console Errors: Check Your CSP First

July 16, 2026

Google Analytics (GA4) Not Tracking Anything and No Console Errors: Check Your CSP First

Native Module Build Fails on Shared Hosting (node-gyp, Old glibc/Python): The .npmrc Fix

July 16, 2026

Native Module Build Fails on Shared Hosting (node-gyp, Old glibc/Python): The .npmrc Fix

Uploaded Images Disappear After Every Deploy on Shared Hosting (and Other Reverse-Proxy Gotchas)

July 16, 2026

Uploaded Images Disappear After Every Deploy on Shared Hosting (and Other Reverse-Proxy Gotchas)

Google Analytics (GA4) Not Tracking Anything and No Console Errors: Check Your CSP First

Google Analytics (GA4) Not Tracking Anything and No Console Errors: Check Your CSP First

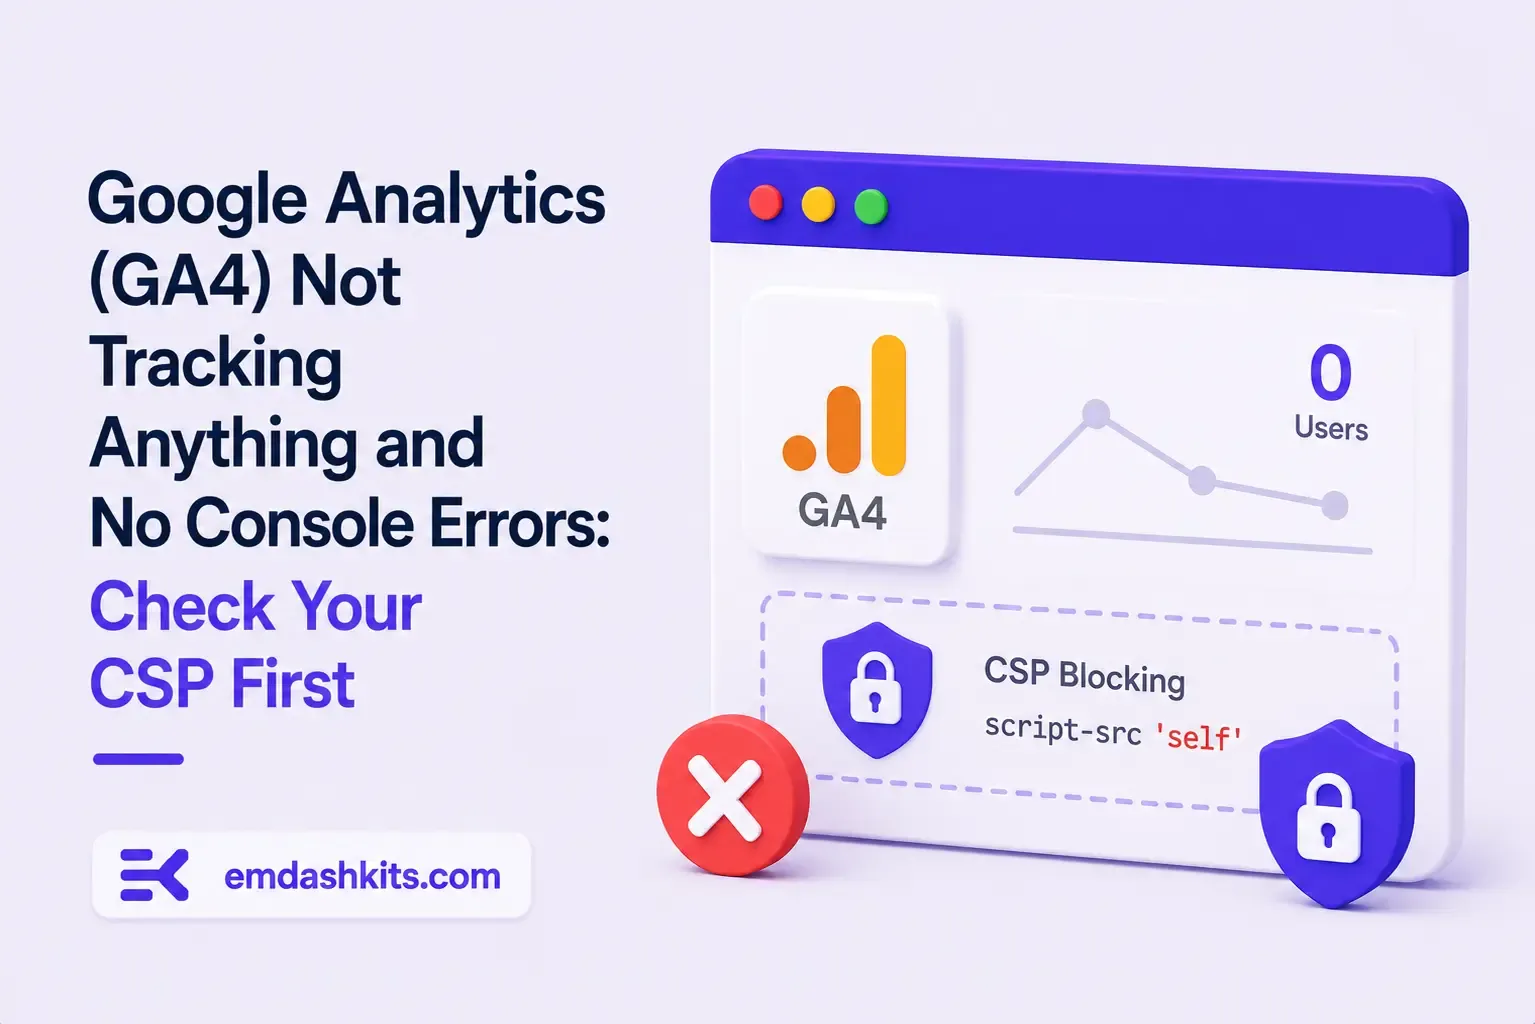
TL;DR — GA4's gtag.js snippet was installed correctly, the page loaded with no visible JavaScript error, and GA4's real-time report still showed zero activity. The CMS's default Content-Security-Policy had no allowance for analytics domains and no config option to add one — so every request to Google's tracking endpoints was blocked at the browser level before it could fail loudly.

Table of Contents
  1. Diagnostic
  2. Root cause
  3. Lessons learned

Diagnostic

Check the browser's dedicated CSP violation reporting, not the regular console error list — CSP blocks are reported through their own channel, not thrown as normal script errors, so "no console errors" doesn't mean nothing was blocked.

Root cause

The CSP's script-src and connect-src directives had no entry for googletagmanager.com or google-analytics.com, and the CMS exposed no configuration surface to add one — the only way in was patching the CSP directives directly.

// patch-package: add analytics domains to the existing CSP directives
scriptSrc.push("https://www.googletagmanager.com");
connectSrc.push("https://www.google-analytics.com", "https://www.googletagmanager.com");
emdashkits.com
Read also:

Lessons learned

  • "No console errors" is not proof nothing was blocked — CSP violations live in their own reporting surface and are easy to miss if you're only scanning for red error text.
  • Before adding any third-party script tag to a site with a CSP already in place, check the CSP's directives first rather than assuming a silently-empty analytics dashboard means a snippet-installation mistake.
Share
Previous Article

Native Module Build Fails on Shared Hosting (node-gyp, Old glibc/Python): The .npmrc Fix

Next Article

Login Works in Production but Fails on localhost: The secure Cookie Flag Gotcha

Comments

Write a comment

Related Articles

Login Works in Production but Fails on localhost: The secure Cookie Flag Gotcha

July 16, 2026

Login Works in Production but Fails on localhost: The secure Cookie Flag Gotcha

Native Module Build Fails on Shared Hosting (node-gyp, Old glibc/Python): The .npmrc Fix

July 16, 2026

Native Module Build Fails on Shared Hosting (node-gyp, Old glibc/Python): The .npmrc Fix

Uploaded Images Disappear After Every Deploy on Shared Hosting (and Other Reverse-Proxy Gotchas)

July 16, 2026

Uploaded Images Disappear After Every Deploy on Shared Hosting (and Other Reverse-Proxy Gotchas)