WordPress Migration Checklist: Every Step Before, During, and After

WordPress Migration Checklist: Every Step Before, During, and After

Most WordPress migrations don't fail because the new platform is bad. They fail because somebody skipped a step — a forgotten redirect map, an unexported media library, an SEO benchmark that was never taken so nobody notices the traffic drop until it's three months deep. This WordPress migration checklist walks through every step in order: what to do before you touch anything, what to do during the move, and what to watch after launch.

If you're still deciding whether to move at all, start with the signs it's time to leave WordPress — this checklist assumes the decision is made and the goal is now a clean landing.

Person sealing a moving box with packing tape, a metaphor for preparing a website migration
A migration is a moving day: the packing matters more than the truck. Source: Pexels
Table of Contents
  1. Before the Migration: Audit and Benchmark
  2. 1. Inventory every URL you have
  3. 2. Benchmark your SEO baseline
  4. 3. Audit content before you pack it
  5. 4. Take a full backup
  6. 5. Export your content properly
  7. During the Migration: Freeze, Map, Test
  8. 6. Freeze content changes
  9. 7. Build the redirect map — one to one
  10. 8. Rebuild and test on staging
  11. After the Migration: Watch Like a Hawk
  12. 9. Launch-day tasks
  13. 10. The first 90 days
  14. The Checklist, Condensed

Before the Migration: Audit and Benchmark

1. Inventory every URL you have

Crawl your site with a tool like Screaming Frog or a sitemap parser, and pull the full URL list from Google Search Console under Pages. The crawl finds what's linked; Search Console finds what Google actually knows about — the two lists are never identical. WordPress quietly generates more URLs than you think: date archives, author pages, paginated categories, ?p=123 shortlinks, and feed URLs. You need the complete list, because every URL that has traffic or backlinks needs a destination in the new world.

2. Benchmark your SEO baseline

Export current rankings, impressions, and clicks from Search Console, and note your top pages by organic traffic. Without a baseline, you can't tell a normal post-migration wobble from a real problem. This matters more than any other preparation step — what happens to your SEO during a migration is mostly determined by whether you can detect and fix issues in the first two weeks.

3. Audit content before you pack it

A migration is the cheapest moment you'll ever get to delete things. Tag every page as keep, merge, or drop. Thin tag archives, orphaned landing pages from 2019, and duplicate category structures don't deserve a redirect — they deserve a 410. Most sites migrate 30–50% fewer pages than they started with, and rank better for it.

4. Take a full backup

  • Complete database dump (not just the WXR export)
  • The entire wp-content/uploads directory
  • Theme and plugin files, even if you'll never use them again — they document behavior
  • A copy of your .htaccess or nginx config, which holds any existing redirects

5. Export your content properly

WordPress's built-in export tool produces a WXR file that references your media but doesn't contain it, and skips plugin data like SEO metadata by default. The full export process — posts, media, users, and the Yoast/ACF data hiding in postmeta — has enough gotchas that we wrote a separate guide: how to export everything from WordPress.

During the Migration: Freeze, Map, Test

6. Freeze content changes

Set a content freeze date and mean it. Anything published after the export snapshot has to be migrated by hand later, and edits made to already-exported posts silently vanish. For active blogs, schedule the freeze for the shortest window you can manage — usually 2–5 days.

7. Build the redirect map — one to one

This is the single most important technical artifact of the migration. Every old URL gets exactly one new destination: no wildcard dumps to the homepage, no redirect chains. Google's documentation recommends keeping these redirects live for at least one year after a site move so ranking signals fully transfer. The mechanics — including the weird WordPress URL patterns people forget — are covered in our guide to redirecting old WordPress URLs.

8. Rebuild and test on staging

  • Import content into the new CMS and spot-check formatting on your 20 highest-traffic pages
  • Verify images resolve — media is the most common thing to break
  • Check that titles, meta descriptions, and canonical URLs carried over
  • Run the redirect map against staging with a crawler before launch, not after
  • Compare page speed against the old site; the new stack should win, and you want proof
Read also:

After the Migration: Watch Like a Hawk

9. Launch-day tasks

  1. Point DNS, confirm SSL, and crawl the live site for 404s immediately
  2. Submit the new sitemap in Google Search Console
  3. Use the URL Inspection tool on your top pages to request recrawls
  4. Verify analytics is firing — a surprising number of migrations lose tracking for days

10. The first 90 days

Check Search Console daily for the first two weeks: watch Coverage for spikes in 404s and monitor whether impressions transfer to the new URLs. A dip of 5–15% for a few weeks is normal while Google reprocesses; a sustained slide means a redirect or indexing problem. Keep the redirect map live for a minimum of one year, and don't delete the old backups until you've survived a full quarter.

The Checklist, Condensed

  • Crawl and inventory all URLs (site crawl + Search Console)
  • Benchmark rankings, traffic, and top pages
  • Audit content: keep, merge, or drop
  • Full backup: database, uploads, config
  • Export content, media, users, and SEO metadata
  • Freeze content changes
  • Build a one-to-one redirect map
  • Import, then test content, media, SEO fields, and redirects on staging
  • Launch: DNS, SSL, sitemap submission, recrawl requests, analytics check
  • Monitor Search Console daily for two weeks, keep redirects for a year

If you're weighing whether to run this process yourself or bring in help, DIY vs professional migration breaks down the real costs of both paths. And if EmDash is your destination, the step-by-step WordPress to EmDash migration guide picks up exactly where this checklist leaves off. For the failure patterns to avoid along the way, see common CMS migration mistakes.
Share

Comments

Write a comment

Related Articles

Login Works in Production but Fails on localhost: The secure Cookie Flag Gotcha

July 16, 2026

Login Works in Production but Fails on localhost: The secure Cookie Flag Gotcha

Google Analytics (GA4) Not Tracking Anything and No Console Errors: Check Your CSP First

July 16, 2026

Google Analytics (GA4) Not Tracking Anything and No Console Errors: Check Your CSP First

Native Module Build Fails on Shared Hosting (node-gyp, Old glibc/Python): The .npmrc Fix

July 16, 2026

Native Module Build Fails on Shared Hosting (node-gyp, Old glibc/Python): The .npmrc Fix

Login Works in Production but Fails on localhost: The secure Cookie Flag Gotcha

Login Works in Production but Fails on localhost: The secure Cookie Flag Gotcha

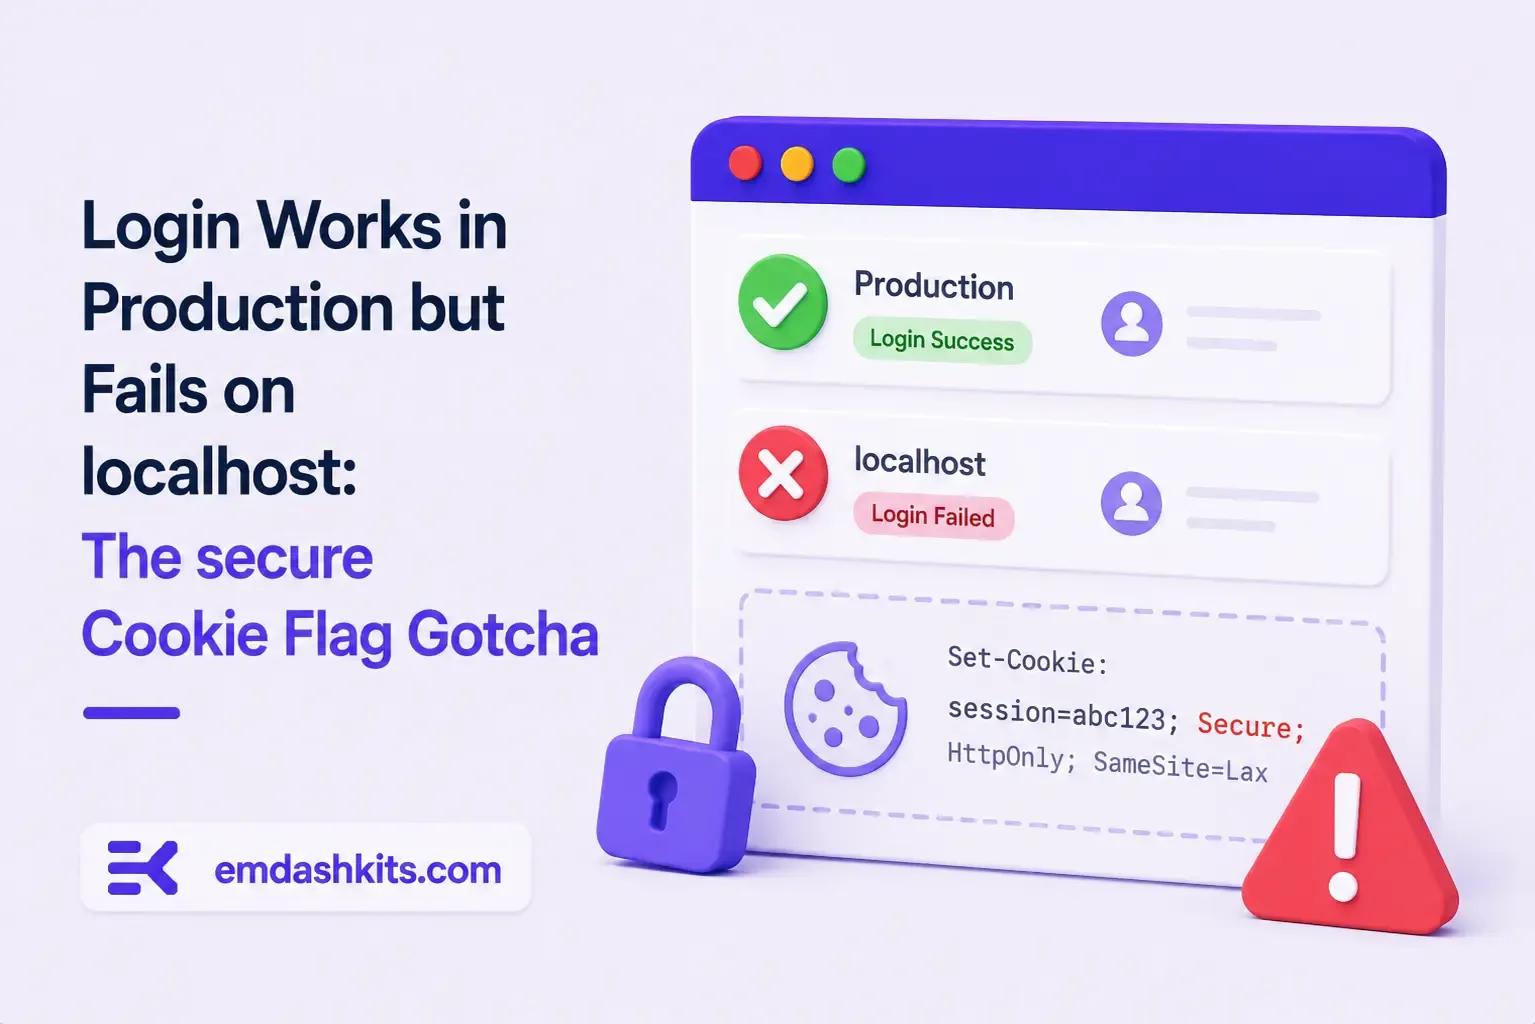
TL;DR — A custom session-cookie login flow appeared to succeed on localhost (the OTP verified, the response looked fine) but every subsequent request to a login-gated page treated the visitor as logged out. Identical code worked fine on the live HTTPS site. The cookie's Secure attribute was hardcoded to true — and per the cookie spec, browsers never store or send a Secure cookie over a plain, non-HTTPS connection.

Table of Contents
  1. Diagnostic
  2. Root cause
  3. Fix
  4. Lessons learned

Diagnostic

Check the actual Set-Cookie response header and the browser's own cookie storage panel — on localhost over http://, the cookie is sent by the server but never actually stored by the browser.

Root cause

// before -- assumes the app is always served over HTTPS
setCookie("session", token, { secure: true, httpOnly: true });
emdashkits.com

A cookie config that quietly assumes "we're always on HTTPS" breaks the instant you test over plain HTTP, which local dev servers commonly are.

Read also:

Fix

// after -- derive secure from the actual request protocol
const isHttps = request.url.startsWith("https://");
setCookie("session", token, { secure: isHttps, httpOnly: true });
emdashkits.com

Lessons learned

  • Any Secure-flagged cookie needs to key off the real request scheme, not an assumption baked in once at cookie-creation time.
  • "Works in production, silently fails in local dev" is a strong signal to check cookie flags before anything else in an auth flow.
  • Check other cookies in the same codebase for the same hardcoded assumption — if one cookie has this bug, sibling cookies set the same way are worth auditing too.
Share
Previous Article

Google Analytics (GA4) Not Tracking Anything and No Console Errors: Check Your CSP First

Comments

Write a comment

Related Articles

Google Analytics (GA4) Not Tracking Anything and No Console Errors: Check Your CSP First

July 16, 2026

Google Analytics (GA4) Not Tracking Anything and No Console Errors: Check Your CSP First

Native Module Build Fails on Shared Hosting (node-gyp, Old glibc/Python): The .npmrc Fix

July 16, 2026

Native Module Build Fails on Shared Hosting (node-gyp, Old glibc/Python): The .npmrc Fix

Uploaded Images Disappear After Every Deploy on Shared Hosting (and Other Reverse-Proxy Gotchas)

July 16, 2026

Uploaded Images Disappear After Every Deploy on Shared Hosting (and Other Reverse-Proxy Gotchas)

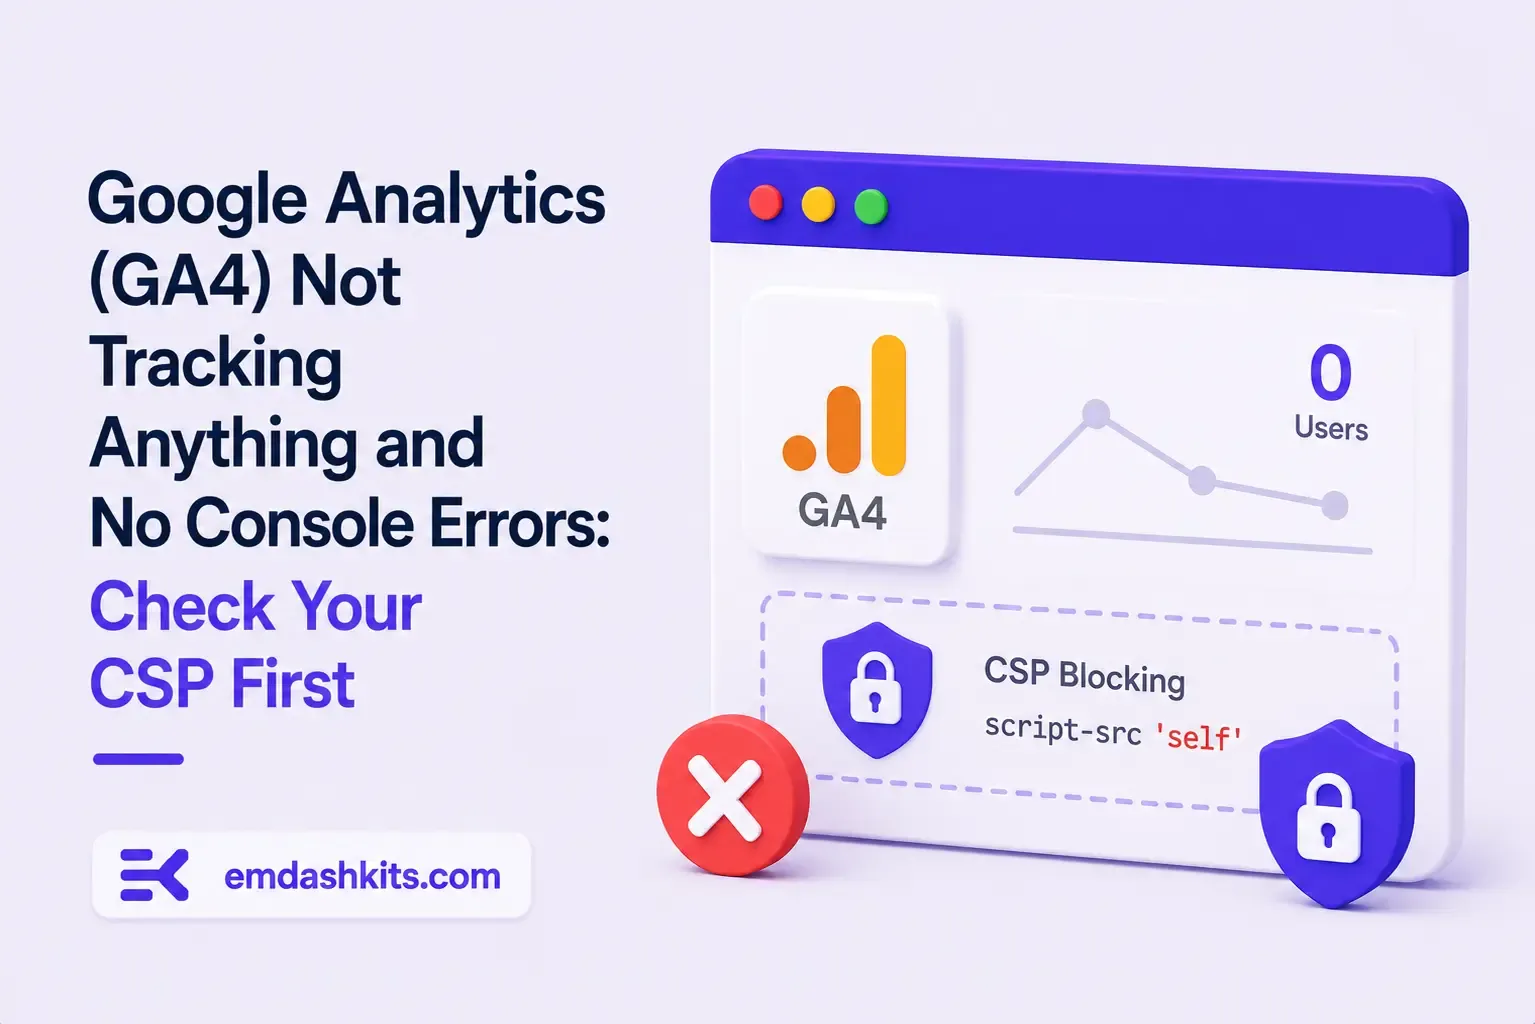
Google Analytics (GA4) Not Tracking Anything and No Console Errors: Check Your CSP First

Google Analytics (GA4) Not Tracking Anything and No Console Errors: Check Your CSP First

TL;DR — GA4's gtag.js snippet was installed correctly, the page loaded with no visible JavaScript error, and GA4's real-time report still showed zero activity. The CMS's default Content-Security-Policy had no allowance for analytics domains and no config option to add one — so every request to Google's tracking endpoints was blocked at the browser level before it could fail loudly.

Table of Contents
  1. Diagnostic
  2. Root cause
  3. Lessons learned

Diagnostic

Check the browser's dedicated CSP violation reporting, not the regular console error list — CSP blocks are reported through their own channel, not thrown as normal script errors, so "no console errors" doesn't mean nothing was blocked.

Root cause

The CSP's script-src and connect-src directives had no entry for googletagmanager.com or google-analytics.com, and the CMS exposed no configuration surface to add one — the only way in was patching the CSP directives directly.

// patch-package: add analytics domains to the existing CSP directives
scriptSrc.push("https://www.googletagmanager.com");
connectSrc.push("https://www.google-analytics.com", "https://www.googletagmanager.com");
emdashkits.com
Read also:

Lessons learned

  • "No console errors" is not proof nothing was blocked — CSP violations live in their own reporting surface and are easy to miss if you're only scanning for red error text.
  • Before adding any third-party script tag to a site with a CSP already in place, check the CSP's directives first rather than assuming a silently-empty analytics dashboard means a snippet-installation mistake.
Share
Previous Article

Native Module Build Fails on Shared Hosting (node-gyp, Old glibc/Python): The .npmrc Fix

Next Article

Login Works in Production but Fails on localhost: The secure Cookie Flag Gotcha

Comments

Write a comment

Related Articles

Login Works in Production but Fails on localhost: The secure Cookie Flag Gotcha

July 16, 2026

Login Works in Production but Fails on localhost: The secure Cookie Flag Gotcha

Native Module Build Fails on Shared Hosting (node-gyp, Old glibc/Python): The .npmrc Fix

July 16, 2026

Native Module Build Fails on Shared Hosting (node-gyp, Old glibc/Python): The .npmrc Fix

Uploaded Images Disappear After Every Deploy on Shared Hosting (and Other Reverse-Proxy Gotchas)

July 16, 2026

Uploaded Images Disappear After Every Deploy on Shared Hosting (and Other Reverse-Proxy Gotchas)